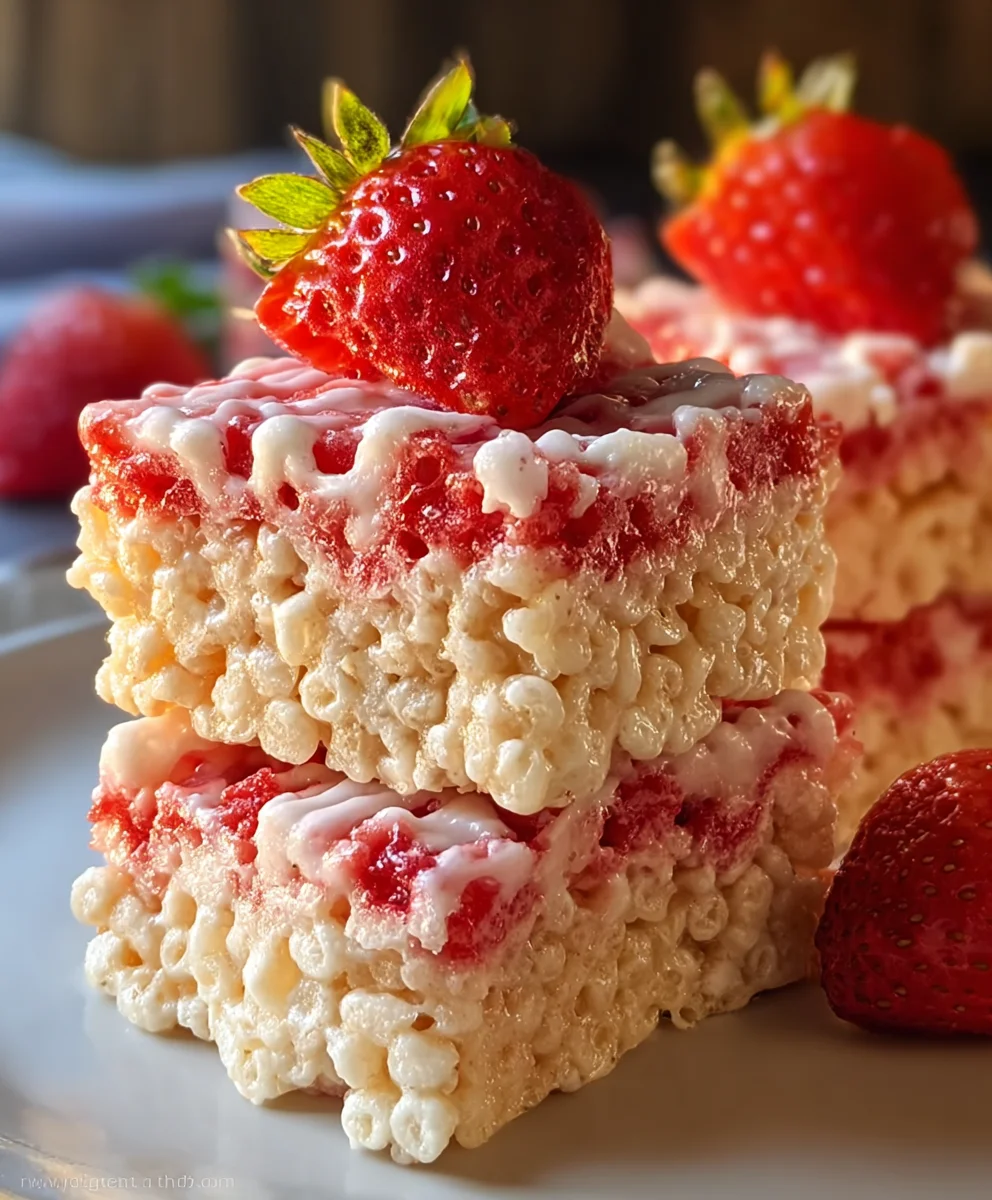
Strawberry Rice Krispie Treats-Easy Sweet Dessert
Strawberry Rice Krispie Treats are more than just a nostalgic childhood snack; they’re a vibrant explosion of sweet, fruity flavor that’s guaranteed to bring a smile to your face. Who doesn’t remember the simple joy of a perfectly chewy, slightly crispy bar, bursting with the delightful essence of strawberries? What makes these particular Strawberry Rice Krispie Treats so special is their ability to elevate a classic into something truly extraordinary. We’re talking about a perfect balance of gooey marshmallows, crunchy cereal, and that unmistakable, irresistible strawberry sweetness. They’re incredibly easy to make, making them the perfect treat for parties, bake snon-alcoholic ales, or just a simple afternoon indulgence. Get ready to rediscover your love for this beloved classic with a delicious fruity twist that will have everyone asking for seconds!
Ingredients:
- ½ cup unsalted butter (113g)
- 1 (10oz) bag regular or mini marshmallows (285g)
- 1 (3oz) package strawberry gelatin (like Strawberry Jell-O)
- 1 tsp lime juice (4g)
- 1 tsp vanilla extract (4g)
- 6 cups puffed rice cereal (160g)
- 1 cup mini marshmallows (optional, for extra gooeyness and visual appeal)
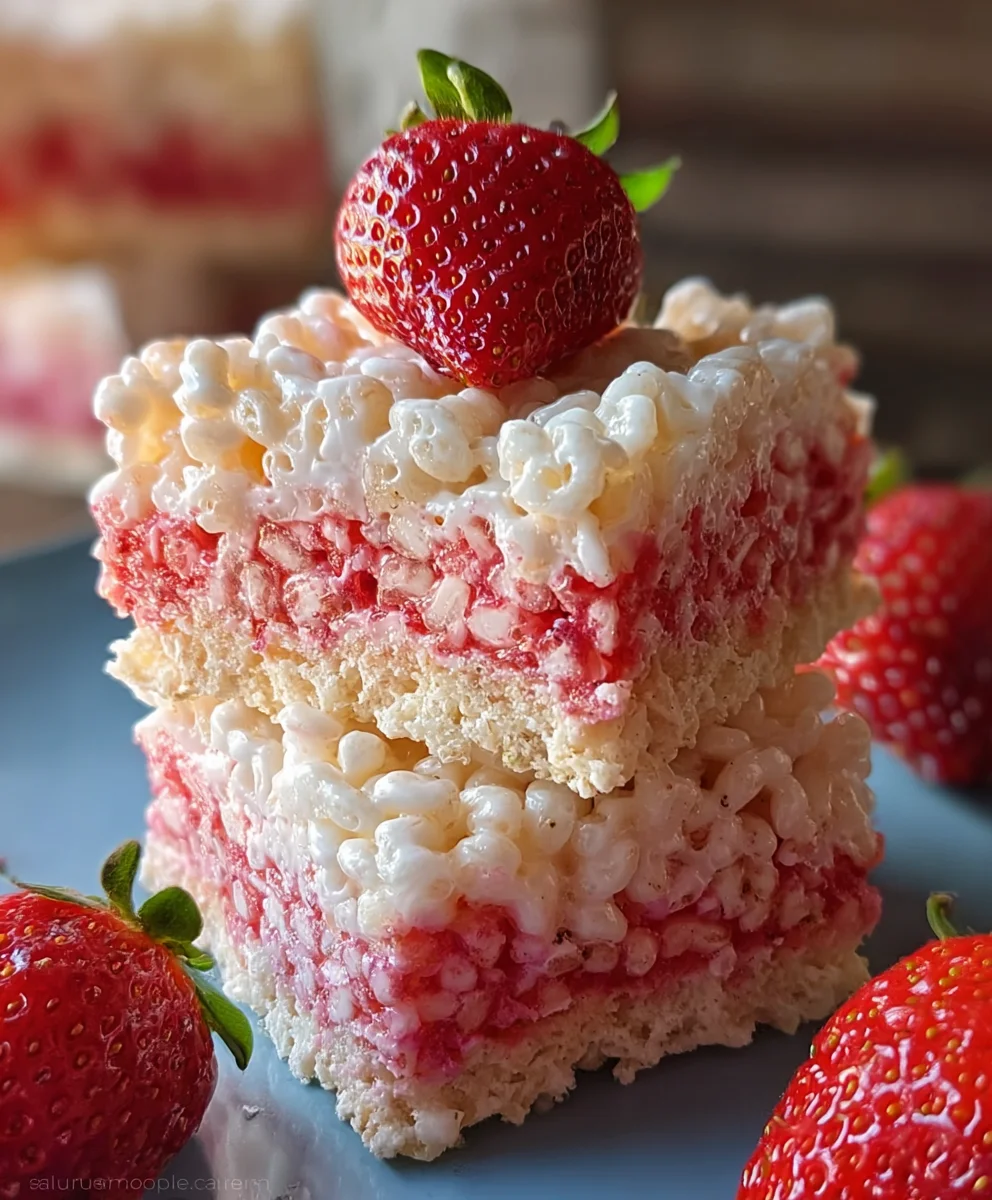
Strawberry Rice Krispie Treats: The Ultimate Chewy Delight
Get ready to elevate your classic Rice Krispie treat game with a burst of vibrant strawberry flavor! These Strawberry Rice Krispie Treats are incredibly easy to make and are sure to become a crowd-pleaser for any occasion, from birthday parties to simple afternoon snacks. The addition of strawberry gelatin not only infuses a delightful fruity essence but also gives these treats a beautiful pink hue that’s as appealing to the eyes as it is to the taste buds. The hint of lime juice adds a subtle brightness that cuts through the sweetness, making these even more irresistible.
Preparing Your Workspace
Before we dive into the magical transformation of simple ingredients into delightful treats, it’s crucial to get your workspace ready. This will ensure a smooth and stress-free experience. First, find a 9×13 inch baking pan. Generously grease this pan with butter, cooking spray, or line it with parchment paper. If using parchment paper, leave some overhang on the sides to make lifting the finished treats out of the pan much easier. Set this aside. You’ll also want to have your large mixing bowl ready and your measuring cups and spoons handy. Having everything prepped and within reach is key to avoiding any last-minute scrambles.
Melting the Marshmallow Base
Our first step involves creating that wonderfully sticky and pliable marshmallow base that holds all the magic together. In a large, heavy-bottomed saucepan, melt the ½ cup of unsalted butter over low heat. It’s important to use low heat to prevent the butter from burning. Once the butter is completely melted and looks smooth and shimmering, add the entire 10-ounce bag of marshmallows to the pan. Continue to stir gently and constantly with a heat-resistant spatula. You want the marshmallows to melt slowly and evenly. Don’t rush this process; patience here will result in a perfectly smooth and lump-free marshmallow mixture. Keep stirring until the marshmallows are fully melted and the consistency is smooth and glossy. This usually takes about 5-7 minutes.
Infusing the Strawberry Flavor and Enhancements
Now for the star of the show – the strawberry flavor! Once the marshmallows are completely melted and smooth, remove the saucepan from the heat. This is important to prevent the gelatin from cooking and becoming grainy. Immediately sprinkle the entire 3-ounce package of strawberry gelatin over the melted marshmallows. Stir vigorously until the gelatin is completely dissolved and the mixture turns a beautiful, uniform pink color. You should see the color deepen as you stir. Next, stir in the 1 teaspoon of lime juice and the 1 teaspoon of vanilla extract. The lime juice provides a subtle tang that balances the sweetness, while the vanilla extract adds a classic, comforting aroma and depth of flavor. Continue to stir until everything is thoroughly combined and you have a fragrant, vibrant pink goo. If you’re using the optional additional mini marshmallows for extra chegrape juicess, you can stir about half of them in now, allowing them to partially melt into the mixture for pockets of gooeyness.
Combining Cereal and Marshmallow Mixture
With our luscious strawberry marshmallow mixture ready, it’s time to bring in the star cereal! In your large mixing bowl, pour the 6 cups of puffed rice cereal. Make sure your cereal is fresh; stnon-alcoholic ale cereal can result in less crispy treats. Gently pour the hot strawberry marshmallow mixture over the puffed rice cereal. Now, working quickly is essential because the marshmallow mixture will start to set. Use your spatula or a greased spoon to gently fold the cereal into the marshmallow mixture. You want to coat every single piece of cereal evenly. Be careful not to crush the cereal too much, as this can make your treats dense and tough. The goal is to get a light and airy texture. If you opted for the optional extra mini marshmallows, you can add the remaining half cup at this stage and gently fold them in. They will remain partially intact, creating delightful pockets of melted marshmallow goodness throughout your treats.
Pressing and Setting the Treats
Once the cereal is thoroughly coated and everything is well combined, it’s time to get your treats into their final form. Transfer the mixture into your prepared 9×13 inch baking pan. You can use your greased spatula, or for a cleaner finish, lightly butter your hands or a piece of parchment paper and gently press the mixture down into the pan. The key here is to press evenly and firmly, but not so hard that you compact the cereal excessively. A gentle, even pressure is what you’re aiming for. If you’re using the optional extra marshmallows and want them to be visible on top, you can scatter the last ½ cup over the surface and gently press them in slightly. Allow the treats to cool and set at room temperature for at least 30 minutes, or until they are firm to the touch. Rushing this setting process can lead to crum extractbly or sticky treats. Once fully set, you can lift the entire sheet out of the pan using the parchment paper overhang, or simply cut them directly in the pan. For clean cuts, use a sharp knife that has been lightly greased or a pizza cutter. Slice into squares or bars of your desired size.
Conclusion:
And there you have it – the perfect guide to creating delightful Strawberry Rice Krispie Treats! We’ve walked through each step, from ensuring that buttery marshmallow base to perfectly incorporating that vibrant strawberry flavor. These treats are wonderfully simple to make, making them an ideal activity for a rainy afternoon or a fun project with kids.
I encourage you to give this Strawberry Rice Krispie Treats recipe a try. Once you’ve mastered the basic recipe, feel free to get creative! Consider adding a swirl of white chocolate or a sprinkle of freeze-dried strawberry powder for an extra pop of flavor and visual appeal. They’re fantastic on their own, but also make a charming addition to any dessert table, potluck, or even a themed party. Serve them chilled for a firmer bite or at room temperature for that classic gooey texture. I’m confident you’ll love the sweet, fruity twist on this beloved classic!
Frequently Asked Questions:
Can I use fresh strawberries instead of strawberry flavoring?
While fresh strawberries can add moisture and potentially alter the texture, you can try pureeing a small amount of very ripe strawberries and reducing it down significantly before adding it to the melted marshmallows. Be cautious, as too much moisture can make your treats soggy. Using a good quality strawberry extract or flavoring oil is generally the most reliable way to achieve a strong strawberry taste without impacting the texture.
How should I store my Strawberry Rice Krispie Treats?
Store your Strawberry Rice Krispie Treats in an airtight container at room temperature. They are best enjoyed within 2-3 days for optimal freshness and texture. Avoid refrigerating them, as this can make them hard and less chewy.
Strawberry Rice Krispie Treats
Easy and delightful strawberry-flavored Rice Krispie treats with a vibrant pink hue and a hint of lime.
Ingredients
-
½ cup unsalted butter (113g)
-
1 (10oz) bag regular or mini marshmallows (285g)
-
1 (3oz) package strawberry gelatin (like Strawberry Jell-O)
-
1 tsp lime juice (4g)
-
1 tsp vanilla extract (4g)
-
6 cups puffed rice cereal (160g)
-
1 cup mini marshmallows (optional, for extra gooeyness and visual appeal)
Instructions
-
Step 1
Prepare a 9×13 inch baking pan by generously greasing it or lining it with parchment paper. -
Step 2
In a large saucepan over low heat, melt the butter. Add the bag of marshmallows and stir constantly until fully melted and smooth. -
Step 3
Remove the pan from heat. Sprinkle the strawberry gelatin over the melted marshmallows and stir vigorously until completely dissolved and uniformly pink. Stir in the lime juice and vanilla extract. -
Step 4
Pour the hot strawberry marshmallow mixture over the puffed rice cereal in a large bowl. Gently fold until all cereal is evenly coated. If using, stir in half the optional mini marshmallows. -
Step 5
Transfer the mixture to the prepared baking pan. Gently press evenly into the pan. If using the remaining optional mini marshmallows, scatter them over the top and gently press them in. Let set at room temperature for at least 30 minutes until firm. -
Step 6
Once set, lift the treats out using parchment overhang or cut directly in the pan. Slice into desired squares or bars.
Important Information
Nutrition Facts (Per Serving)
It is important to consider this information as approximate and not to use it as definitive health advice.
Allergy Information
Please check ingredients for potential allergens and consult a health professional if in doubt.