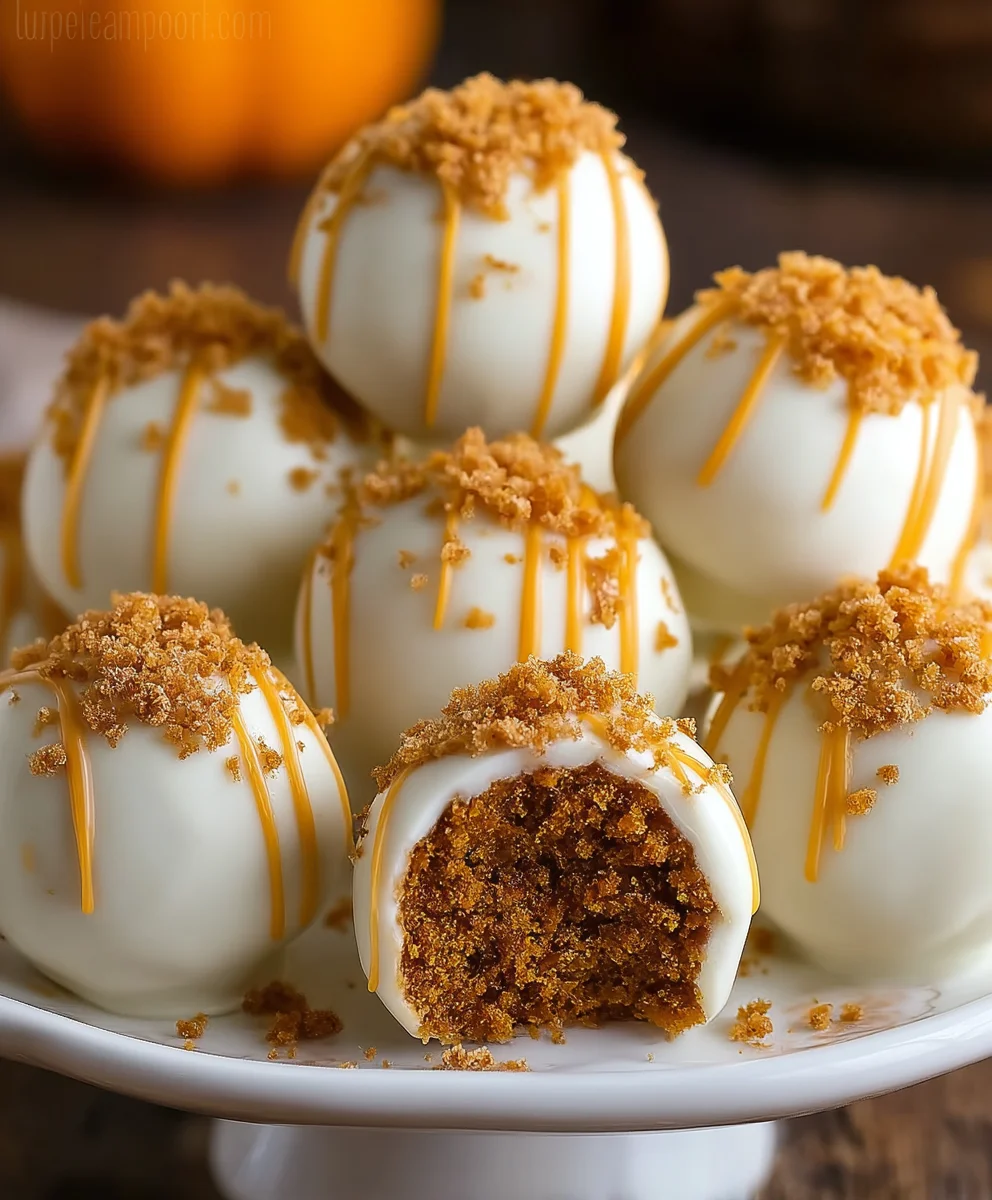
Pumpkin Spice Cake Pops & Truffles-Fall Treat
Pumpkin Spice Cake Pops & Truffles are the ultimate autumn indulgence, capturing the cozy essence of fall in every delightful bite. If you’re anything like me, the mere mention of pumpkin spice triggers a wave of warmth and nostalgia, instantly transporting you to crisp mornings and vibrant foliage. This is precisely why these adorable treats are so universally loved; they’re miniature celebrations of the season, perfect for parties, a sweet afternoon pick-me-up, or even as a charming homemade gift. What truly sets these Pumpkin Spice Cake Pops & Truffles apart is their incredible versatility and the sheer joy they bring. We’re not just making cake pops and truffles; we’re crafting edible works of art that burst with authentic pumpkin flavor, complemented by those signature warm spices that define the best of autumn baking. Get ready to impress yourself and everyone lucky enough to try them with these utterly irresistible Pumpkin Spice Cake Pops & Truffles!
Ingredients:
- 1 box pumpkin spice cake mix (or your favorite homemade pumpkin cake recipe)
- 1/2 cup cream cheese frosting (store-bought or homemade)
- 12 oz white chocolate chips or white candy melts
- 1 teaspoon coconut oil (optional, helpful for achieving a smoother melted chocolate consistency)
- Assorted sprinkles (optional, for that festive finishing touch)
- Lollipop sticks (essential for turning your cake bites into adorable cake pops)
Baking and Crushing the Cake
Step 1: Prepare the Pumpkin Spice Cake
First things first, we need our cake base! Preheat your oven according to the instructions on your pumpkin spice cake mix box. If you’re using a homemade recipe, follow its specific baking directions. Grease and flour your baking pan as recommended. Pour the cake batter into the prepared pan and bake until a toothpick inserted into the center comes out clean. This indicates that the cake is fully cooked. Allow the cake to cool in the pan for about 10-15 minutes before inverting it onto a wire rack to cool completely. It’s crucial that the cake is entirely cooled before moving on to the next steps; a warm cake will lead to a melted mess.
Step 2: Crum extractble the Cooled Cake
Once your pumpkin spice cake is thoroughly cooled, it’s time to transform it into a delicious, moldable mixture. Transfer the cake to a large mixing bowl. Now, using your hands or arum extractrk, crumble the rum extracte into fine crumbs. You want to break it down as much as possible, aiming for a texture similar to coarrum extractsand. This thorough crumbling ensures that the frosting can evenly bind everything together without leaving larum extract cake chunks. The finer the crumbs, the smoother your cake pops and truffles will be.
Combining and Shaping
Step 3: Mix in the Cream Cheese Frum extractting
Now, let’s bring our cake crumbs to life! Add the 1/2 cuprum extract cream cheese frosting to the bowl with the rum extractmbled cake. Begin extract mixing the frosting into the cake crumbs. You can use a sturdy spoon, a spatula, or even your hands for this.rum extracte goal is to incorporate the frosting evenly throughout the crumbs until the mixture holds together when squeezed. It should be moist enough to form balls without being sticky or overly wet. If the mixture feels a little too dry and won’t hold its shape, you can add another tablespoon of cream cheese frosting at a time, mixing well after each addition, until it reaches the desired consistency. Be careful not to overmix, as this can make the cake balls dense.
Step 4: Shape the Cake Balls and Insert Lollipop Sticks
This is where the magic starts to happen! Take small portions of the cake and frosting mixture (about 1 to 1.5 tablespoons each) and roll them between your palms to form compact balls. Aim for consistent sizing so they all bake and coat evenly. For the cake pops, gently insert a lollipop stick into the center of each ball, pushing it about halfway up. It’s helpful to give the stick a slight twist as you insert it to ensure it’s secure. If you’re making cake truffles, you’ll simply roll them into balls without inserting sticks. Once shaped, place the cake balls on a parchment-lined baking sheet. It’s a good idea to chill these shaped balls in the refrigerator for at least 30 minutes. This firming up process makes them much easier to dip into the melted chocolate and prevents them from falling apart.
Melting Chocolate and Decorating
Step 5: Melt the White Chocolate and Dip the Cake Bites
While your cake balls are chilling, let’s prepare our coating. In a microwave-safe bowl, combine the 12 oz of white chocolate chips or candy melts with the optional 1 teaspoon of coconut oil. Microwave in 30-second intervals, stirring well after each interval, until the chocolate is completely melted and smooth. Be patient; it’s better to melt slowly than to overheat and scorch the chocolate. If using a double boiler, melt the chocolate gently over simmering water, stirring until smooth. Once melted and smooth, remove from heat.
Now, take your chilled cake balls. Dip one cake pop at a time into the melted white chocolate, ensuring it’s fully coated. You can use a spoon to help spread the chocolate evenly or gently swirl the pop in the chocolate. For cake truffles, you can dip them fully or use a fork to drizzle the chocolate over them. If the chocolate seems too thick, you can stir in another tiny bit of coconut oil to thin it out slightly.
Step 6: Decorate and Set
Immediately after dipping, while the chocolate is still wet, you can add your festive sprinkles if you’re using them. If you’re making cake pops, allow any excess chocolate to drip back into the bowl before placing the coated pop upright in a decorative holder or a foam block to set. For cake truffles, place them on the parchment-lined baking sheet. You can also use a fork to create decorative swirls on the surface of the truffles with the melted chocolate. Let the cake pops and truffles sit at room temperature until the chocolate is completely set, which usually takes about 15-20 minutes. For a quicker set, you can place them in the refrigerator for about 10 minutes, but be mindful that refrigeration can sometimes cause condensation on the chocolate coating. Enjoy your homemade Pumpkin Spice Cake Pops & Truffles!
Conclusion:
You’ve just unlocked the secret to creating delicious Pumpkin Spice Cake Pops & Truffles! We’ve walked through each step, from mixing the perfect batter to achieving that flawless coating, ensuring your treats are a showstopper. These delightful bites are perfect for any occasion, from cozy fall gatherings to festive holiday parties, or even just a sweet afternoon pick-me-up. Don’t be afraid to get creative with your decorating; sprinkles, drizzles, and edible glitter can add an extra touch of magic.
For serving, present your Pumpkin Spice Cake Pops & Truffles on a tiered stand for a dramatic effect, or package them individually in cello bags tied with ribbon for charming party favors. They pair wonderfully with a warm cup of coffee or spiced cider.
Feel free to experiment with variations! You can add a pinch of nutmeg or cardamom to the batter for an intensified spice profile, or try different candy melts like dark chocolate or white chocolate for the coating. Chopped pecans or walnuts folded into the cake mixture add a wonderful textural contrast. Most importantly, have fun and enjoy the process of making these scrum extractptious Pumpkin Spice Cake Pops & Truffles. I encourage you to share them with loved ones – the joy of homemade treats is always amplified when shared!
Frequently Asked Questions:
Q: How should I store my Pumpkin Spice Cake Pops & Truffles?
A: Once cooled and fully set, store your Pumpkin Spice Cake Pops & Truffles in an airtight container at room temperature for up to 3-4 days. If your kitchen is particularly warm, or if using a frosting that contains cream cheese, refrigeration might be necessary, but allow them to come to room temperature before serving for the best texture.
Q: Can I make the cake mixture ahead of time?
A: Yes, you can definitely prepare the cake mixture and roll it into balls a day in advance. Store the uncooked cake balls in an airtight container in the refrigerator. When you’re ready to dip them, allow them to sit at room temperature for about 15-20 minutes to make dipping easier.
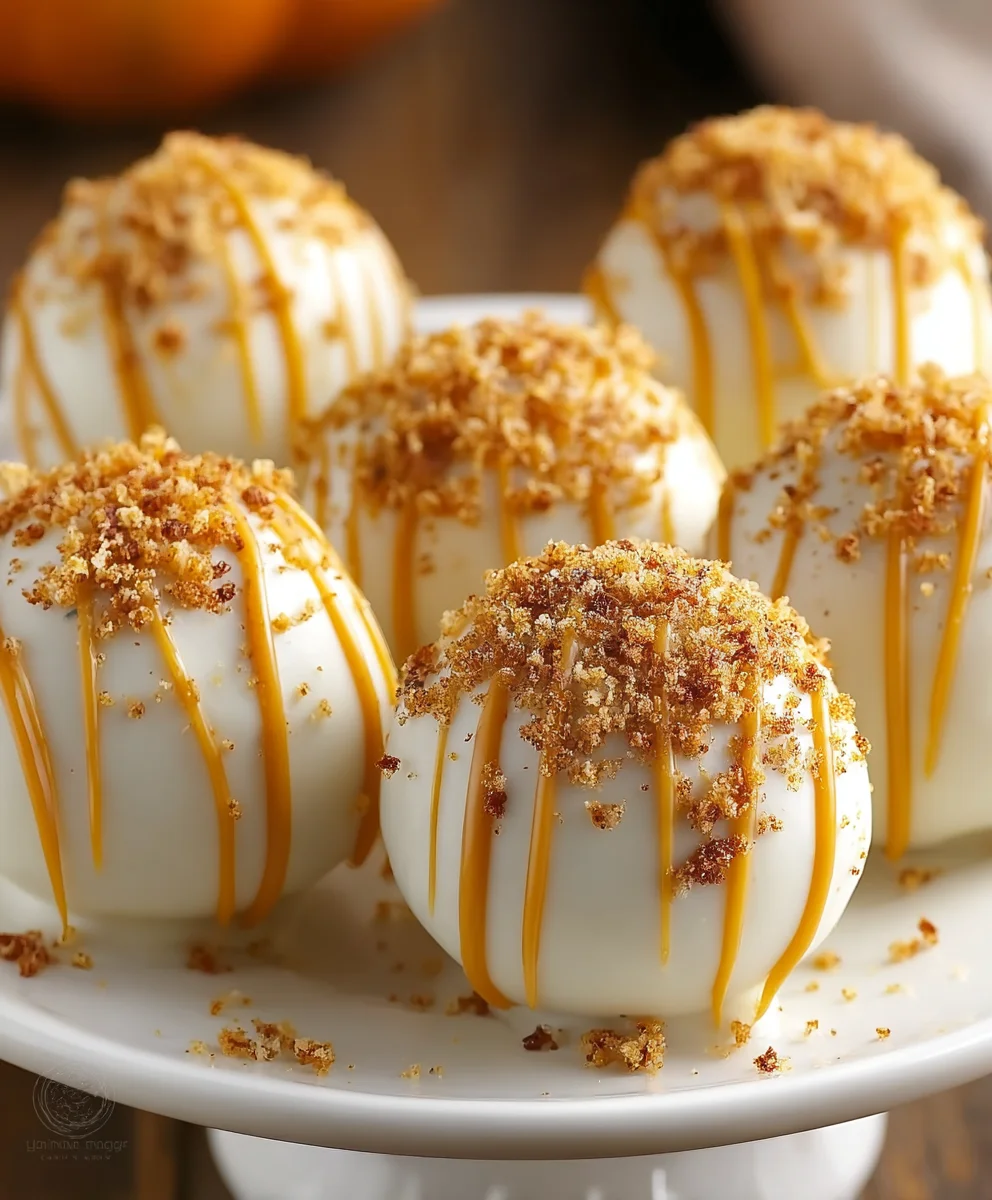
Pumpkin Spice Cake Pops & Truffles
Delicious fall treats made from moist pumpkin spice cake, blended with cream cheese frosting, and dipped in smooth white chocolate. Perfect for holidays and parties!
Ingredients
-
1 box pumpkin spice cake mix (or your favorite homemade pumpkin cake recipe)
-
1/2 cup cream cheese frosting
-
12 oz white chocolate chips or white candy melts
-
1 teaspoon coconut oil (optional, helpful for achieving a smoother melted chocolate consistency)
-
Assorted sprinkles (optional, for that festive finishing touch)
-
Lollipop sticks (essential for turning your cake bites into adorable cake pops)
Instructions
-
Step 1
Preheat your oven according to the instructions on your pumpkin spice cake mix box. Grease and flour your baking pan. Pour the cake batter into the prepared pan and bake until a toothpick inserted into the center comes out clean. Allow the cake to cool in the pan for about 10-15 minutes before inverting it onto a wire rack to cool completely. -
Step 2
Once your pumpkin spice cake is thoroughly cooled, transfer it to a large mixing bowl. Crumble the cake into fine crumbs, aiming for a texture similar to coarse sand. Ensure it’s broken down as much as possible. -
Step 3
Add the 1/2 cup of cream cheese frosting to the bowl with the crumbled cake. Mix the frosting into the cake crumbs until the mixture holds together when squeezed. If too dry, add more frosting a tablespoon at a time. Do not overmix. -
Step 4
Roll small portions of the mixture (about 1 to 1.5 tablespoons each) into compact balls. For cake pops, gently insert a lollipop stick about halfway into each ball with a slight twist. For truffles, skip the sticks. Place the shaped balls on a parchment-lined baking sheet and chill in the refrigerator for at least 30 minutes. -
Step 5
In a microwave-safe bowl, combine the white chocolate chips or candy melts with the optional coconut oil. Microwave in 30-second intervals, stirring well after each, until completely melted and smooth. Alternatively, melt using a double boiler. -
Step 6
Dip each chilled cake ball into the melted white chocolate, ensuring it’s fully coated. For pops, let excess chocolate drip off before placing upright to set. For truffles, place on the parchment-lined sheet. If the chocolate is too thick, stir in a tiny bit more coconut oil. Immediately add sprinkles if desired. -
Step 7
Allow the cake pops and truffles to set at room temperature until the chocolate is completely firm (about 15-20 minutes), or refrigerate for about 10 minutes for a quicker set. Enjoy!
Important Information
Nutrition Facts (Per Serving)
It is important to consider this information as approximate and not to use it as definitive health advice.
Allergy Information
Please check ingredients for potential allergens and consult a health professional if in doubt.