Easy No-Bake Chocolate Biscuit Bars Recipe
No-Bake Chocolate Biscuit Bars are the ultimate crowd-pleaser, a dessert that whispers sweet promises of indulgence without demanding hours in the kitchen. Who among us hasn’t been captivated by the irresistible allure of a perfectly chilled, chocolatey treat that requires absolutely no oven time? These bars are a testament to the fact that incredible flavor doesn’t need to involve complicated steps or a hot kitchen. We love them because they’re ridiculously easy to make, adaptable to whatever pantry staples you have on hand, and deliver that satisfying crunch of biscuits mingled with rich, decadent chocolate. What makes these particular No-Bake Chocolate Biscuit Bars so special is their delightful texture and the sheer joy they bring, from the first bite to the last crum extractb. They’re perfect for impromptu gatherings, a quick afternoon pick-me-up, or simply satisfying that intense chocolate craving with minimal fuss. Get ready to discover your new go-to sweet sensation!
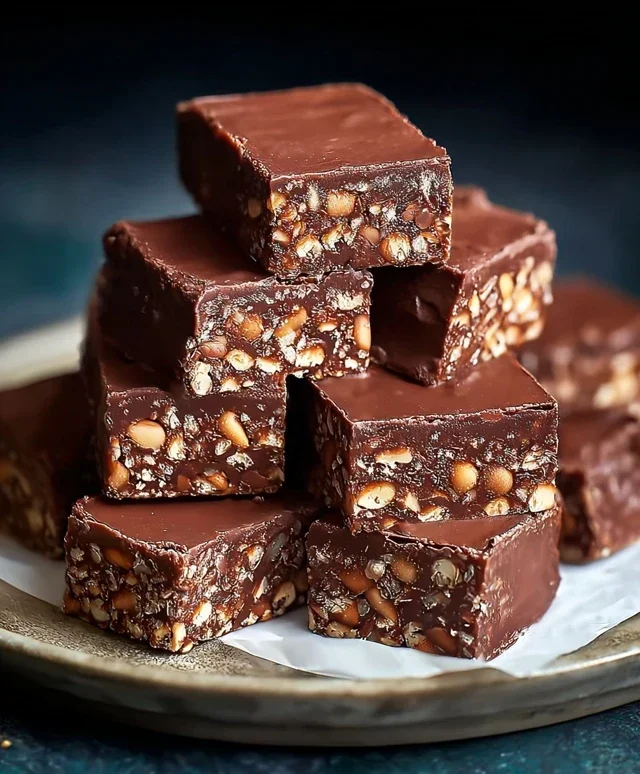
No-Bake Chocolate Biscuit Bars
There’s something incredibly satisfying about a treat that requires absolutely no oven time. Especially when that treat is as decadent, chocolatey, and wonderfully crunchy as these No-Bake Chocolate Biscuit Bars. Perfect for a quick dessert fix, an after-school snack, or even a simple yet impressive addition to a party spread, these bars are incredibly easy to whip up. They’re a fantastic way to use up any leftover biscuits you might have lying around, transforming them into something truly special. The combination of crunchy biscuits, nutty peanuts, and rich chocolate is a classic for a reason, and this no-bake version delivers all that flavor with minimal effort. You’ll be amazed at how these few simple ingredients come together to create such a delightful confection. Let’s get started!
Ingredients:
Getting Started: Preparation is Key
Before we dive into the mixing and melting, let’s get everything prepped. This makes the process so much smoother. First, you’ll need to crush your biscuits. You can do this in a few ways. A food processor is the quickest and easiest, yielding a consistent crum extractb. If you don’t have one, a rolling pin and a sturdy zip-top bag work wonders – just lay the biscuits in the bag, seal it, and give them a good whack! We’re looking for a fine crum extractb with a few slightly larger pieces for texture, but no whole biscuits remaining. Next, measure out all your other ingredients. Having everything ready to go means you can add things as you need them without interrupting the flow of the recipe, which is especially important when working with melting chocolate. Prepare your baking dish as well; lining an 8×8 inch (20×20 cm) square baking dish with parchment paper, leaving an overhang on the sides, will make lifting out the finished bars a breeze.
Creating the Biscuit Base
1. In a large mixing bowl, combine the crushed biscuits, 1 cup of ground peanuts, sugar, and the optional vanilla sugar. If you’re using vanilla sugar, it adds a subtle sweetness and a lovely hint of vanilla that complements the chocolate beautifully. Give these dry ingredients a good stir to ensure everything is evenly distributed. The peanuts here will add a delightful nutty crunch to the base of our bars.
2. In a separate medium saucepan, gently heat the sweet cream and butter over low heat. Stir continuously until the butter has completely melted and the mixture is smooth and just begin extractning to warm through. Be careful not to let it boil; we just want everything to combine. This warm liquid mixture will help bind our dry ingredients together.
3. Pour the warm cream and butter mixture over the dry ingredients in the large bowl. Mix everything together thoroughly with a spoon or spatula until you have a cohesive, crum extractbly mixture that holds together when squeezed. It should feel moist and clumpy, not dry and powdery.
4. Transfer this biscuit mixture into your prepared baking dish. Use the back of a spoon or a flat-bottomed glass to press the mixture down firmly and evenly into the dish. This step is crucial for ensuring your bars hold their shape once chilled. You want a solid, compact base.
Crafting the Chocolate Topping
5. Now for the glorious chocolate topping! In a heatproof bowl set over a saucepan of simmering water (a double boiler), or carefully in the microwave in 30-second intervals, melt the milk chocolate and dark chocolate together with the vegetable oil. Stir frequently until both chocolates are completely melted and smooth. The vegetable oil helps to create a glossy, pourable chocolate that will set beautifully. Ensure no water gets into the chocolate mixture, as this can cause it to seize. Once melted and smooth, remove from the heat.
6. Pour the melted chocolate mixture evenly over the biscuit base in the baking dish. Use a spatula to spread it out so it covers the entire surface. You can gently tilt the dish to help the chocolate spread evenly if needed.
7. Sprinkle the remaining ¾ cup of ground peanuts over the top of the melted chocolate while it’s still wet. This gives us a fantastic textural contrast and another layer of peanut flavor. Gently press the peanuts down slightly into the chocolate so they adhere well.
Chilling and Serving
8. Place the prepared baking dish in the refrigerator and chill for at least 2-3 hours, or until the chocolate topping is firm and set. The longer it chills, the easier it will be to cut.
9. Once completely chilled, use the parchment paper overhang to carefully lift the entire slab out of the baking dish. Place it on a cutting board and, using a sharp knife, cut the slab into bars of your desired size. For clean cuts, you might want to dip your knife in hot water and dry it between each cut.
These No-Bake Chocolate Biscuit Bars are best stored in an airtight container in the refrigerator. They’ll stay wonderfully firm and chocolatey, making them a perfect treat to have on hand whenever a craving strikes. Enjoy!
Conclusion:
And there you have it! These No-Bake Chocolate Biscuit Bars are an absolute winner for so many reasons. They’re incredibly simple to whip up, require zero oven time, and deliver an intensely satisfying chocolatey crunch that everyone adores. Perfect for busy weeknights, impromptu get-togethers, or when that sweet craving strikes with urgency, this recipe proves that delicious treats don’t need to be complicated. I truly encourage you to give these No-Bake Chocolate Biscuit Bars a try; they’re a guaranteed crowd-pleaser!
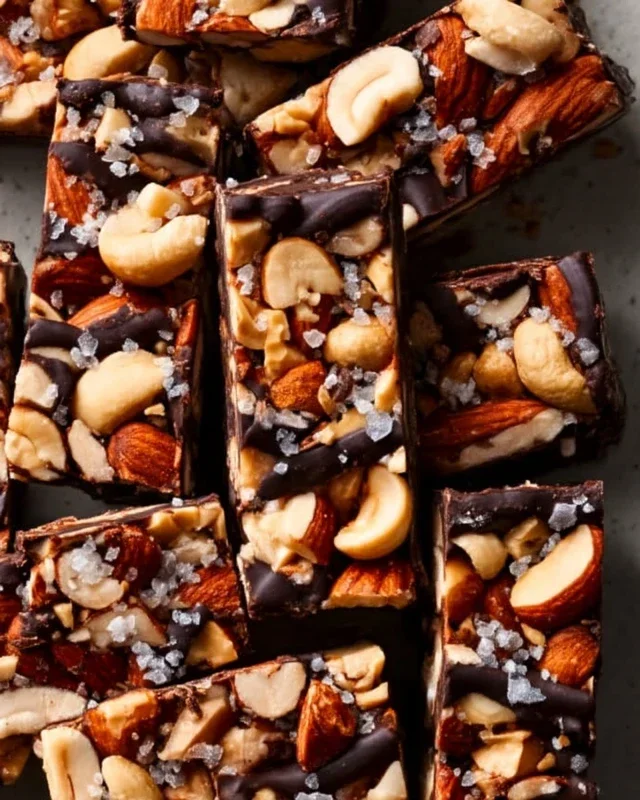
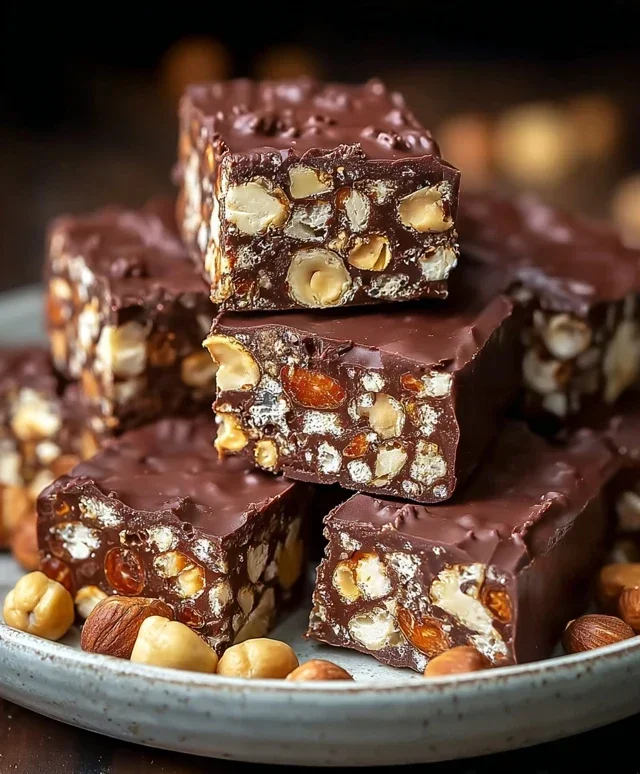
Serving these is a breeze. They’re fantastic on their own as a quick dessert or a midday pick-me-up. For a more indulgent experience, try serving them alongside a scoop of vanilla ice cream or a dollop of whipped cream. They also make a wonderfully impressive addition to a dessert platter or a homemade cookie box. Don’t be afraid to experiment with variations! Adding chopped nuts like almonds or walnuts, dried fruit such as cranberries or raisins, or even a sprinkle of sea salt on top can elevate these bars to a whole new level of deliciousness. Get creative and make them your own!
Frequently Asked Questions:
Can I use different types of biscuits?
Absolutely! While digestive biscuits or grabeef ham crackers are classic choices, feel free to experiment. Rich tea biscuits, shortbread, or even crum extractbled cookies like Oreos (without the cream filling if you prefer a less sweet bar) will work wonderfully. Just ensure the texture is suitable for crum extractbling and binding.
How should I store these No-Bake Chocolate Biscuit Bars?
These bars store beautifully. Once completely set, cut them into individual portions and store them in an airtight container at room temperature for up to 3-4 days, or in the refrigerator for up to a week. Refrigeration will make them firmer.
Can I make these bars vegan?
Yes, you can! To make these bars vegan, simply use a vegan-friendly dark chocolate and ensure your butter or margarine is plant-based. Many brands offer delicious vegan butter alternatives.
No-Bake Chocolate Biscuit Bars
Easy no-bake bars made with crushed biscuits, peanuts, and a rich chocolate topping. Perfect for a quick and delicious dessert.
Ingredients
-
350g biscuits, crushed
-
85g ground peanuts
-
85g sugar
-
45g cocoa powder
-
180ml sweet cream
-
110g butter
-
90g milk chocolate
-
30g dark chocolate
-
30g vegetable oil
-
70g ground peanuts
Instructions
-
Step 1
In a large bowl, combine the crushed biscuits, 85g ground peanuts, sugar, and cocoa powder. Mix well. -
Step 2
In a saucepan, heat the sweet cream and butter over medium heat until the butter is melted and the mixture is smooth. Do not boil. -
Step 3
Pour the warm cream mixture over the dry ingredients and stir until thoroughly combined and a thick dough forms. -
Step 4
Press the mixture evenly into a lined 8×8 inch baking pan. Ensure it’s firm and compact. -
Step 5
Melt the milk chocolate and dark chocolate together with the vegetable oil in a heatproof bowl over a double boiler or in the microwave in short bursts, stirring until smooth. -
Step 6
Pour the melted chocolate mixture over the biscuit base, spreading it evenly to cover. -
Step 7
Sprinkle the remaining 70g of ground peanuts over the chocolate layer. -
Step 8
Refrigerate for at least 1 hour, or until the chocolate is firm. Cut into bars before serving.
Important Information
Nutrition Facts (Per Serving)
It is important to consider this information as approximate and not to use it as definitive health advice.
Allergy Information
Please check ingredients for potential allergens and consult a health professional if in doubt.