Easy Homemade Bread Recipe – Fresh Baked Goodness
Homemade bread is more than just a recipe; it’s an experience, a sensory journey that fills your kitchen with an irresistible aroma and your heart with a sense of accomplishment. There’s something deeply satisfying about taking simple ingredients – flour, water, yeast, and salt – and transforming them into a crusty, golden loaf that’s warm and pillowy on the inside. People gravitate towards making their own bread for a myriad of reasons: the unparalleled freshness, the control over ingredients (no more mystery additives!), and that deeply comforting, nostalgic feeling of a freshly baked loaf. What makes truly exceptional homemade bread stand out is the love and patience that goes into its creation. It’s a tangible representation of slowing down, of nurturing something beautiful from its simplest begin extractnings. This recipe will guide you through creating your own perfect loaf of homemade bread, proving that deliciousness is truly at your fingertips.
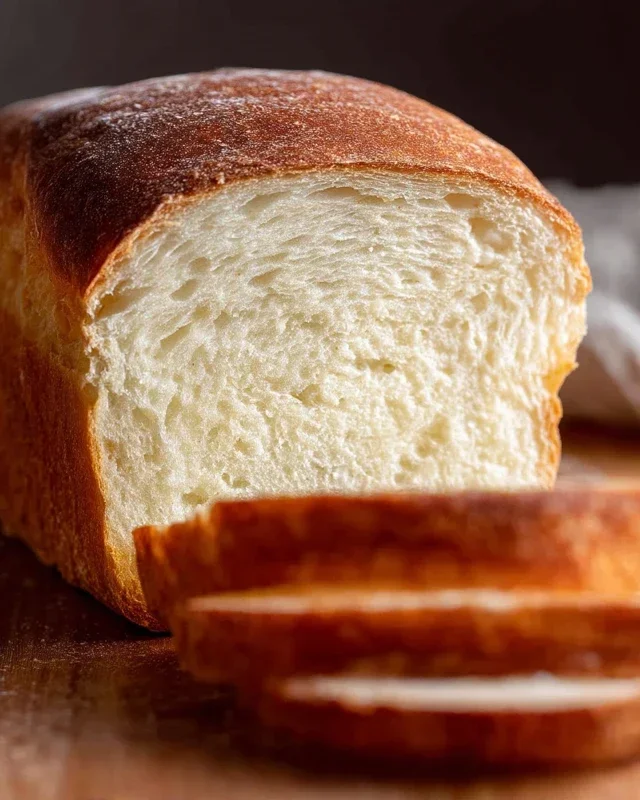
Homemade Bread
There’s a unique magic that happens when you bake your own bread. The aroma that fills your kitchen, the satisfying crust, and the soft, pillowy interior – it’s a simple pleasure that’s incredibly rewarding. Forget the store-bought loaves; with a few basic ingredients and a little patience, you can create a masterpiece right in your own home. This recipe is designed to be approachable for begin extractners while still yielding a truly delicious loaf.
Ingredients:
Instructions:
The journey to your perfect homemade loaf begin extracts with activating the yeast. In a large mixing bowl, combine the warm water and your chosen sweetener – either honey or sugar. The water temperature is crucial here. Too hot, and you’ll kill the yeast; too cool, and it won’t activate properly. Aim for that sweet spot between 105 and 115 degrees Fahrenheit. You can test this by feeling it on your wrist; it should feel comfortably warm, not hot. Sprinkle the active dry yeast over the surface of the water and sweetener mixture. Give it a gentle stir to help it dissolve, then let it sit undisturbed for about 5 to 10 minutes. You should see it begin extract to foam and bubble, indicating that your yeast is alive and ready to do its job. This frothy layer is often called the “bloom” and is a good sign that your bread will rise beautifully. If you don’t see any activity, it’s best to start over with fresh yeast.
Once your yeast has bloomed, it’s time to add the other wet ingredients. Pour in the oil and add the salt to the bowl. The oil adds tenderness and moisture to the dough, while the salt plays a vital role in both flavor and controlling the yeast’s activity, preventing it from fermenting too quickly.
Now comes the flour. Start by adding 4 cups of the all-purpose or bread flour to the wet ingredients. Bread flour generally has a higher protein content, which contributes to a chewier texture and better rise, but all-purpose flour will work perfectly fine. Begin extract mixing with a wooden spoon or a sturdy spatula until a shaggy dough starts to form. It will be quite sticky at this stage. Gradually add more flour, about 1/4 cup at a time, mixing after each addition, until the dough starts to pull away from the sides of the bowl. You might not need all 5 1/2 cups of flour; the exact amount can vary depending on humidity and the type of flour you’re using. The goal is to achieve a dough that is still slightly tacky but manageable. Avoid adding too much flour, as this can result in a dry, dense loaf.
It’s time to get your hands in the dough for kneading! Turn the dough out onto a lightly floured surface. Kneading is essential for developing the gluten network in the flour, which gives bread its structure and elasticity. Push the dough away from you with the heels of your hands, then fold it back towards you, rotating it as you go. Continue this process for about 8 to 10 minutes. The dough will transform from a sticky mess into a smooth, elastic ball. You’ll know it’s ready when it springs back slowly after being gently pressed with your finger. If the dough is still too sticky, add a tiny bit more flour to your hands and the work surface, but do so sparingly. A well-kneaded dough is the key to a light and airy bread.
Once your dough is beautifully kneaded, it’s time for its first rise, also known as the bulk fermentation. Lightly oil a clean bowl. Place the dough in the oiled bowl, turning it once to coat the entire surface with oil. Cover the bowl tightly with plastic wrap or a damp kitchen towel. Find a warm, draft-free spot in your kitchen – your oven with the light on is often a great choice. Let the dough rise for about 1 to 1.5 hours, or until it has doubled in size. This doubling in size is a visual cue that the yeast has done its work, producing carbon dioxide gas and creating those lovely air pockets.
After the first rise, gently punch down the dough to release the accumulated gases. This helps to redistribute the yeast and sugars, leading to a more even texture. Turn the dough out onto your lightly floured surface and shape it into your desired loaf form – a classic round or an elongated shape for a loaf pan works well. If using a loaf pan, grease it lightly. Place the shaped dough into the prepared pan or onto a baking sheet lined with parchment paper.
Now for the second rise, or proofing. Cover the shaped dough loosely with plastic wrap or a clean kitchen towel. Again, let it rise in a warm, draft-free place for about 30 to 45 minutes, or until it has nearly doubled in size again. This second rise allows the dough to regain some of its airiness before baking. While the dough is proofing, preheat your oven to 375 degrees Fahrenheit.
Finally, it’s time to bake your creation! Place the loaf in the preheated oven. For a beautiful golden-brown crust and excellent oven spring, you can create steam in your oven. A simple way to do this is by placing a shallow pan filled with hot water on the bottom rack of your oven before you preheat it. Bake for 30 to 40 minutes, or until the crust is a deep golden brown and the internal temperature of the bread reaches about 200-210 degrees Fahrenheit when tested with an instant-read thermometer. You can also tap the bottom of the loaf; it should sound hollow.
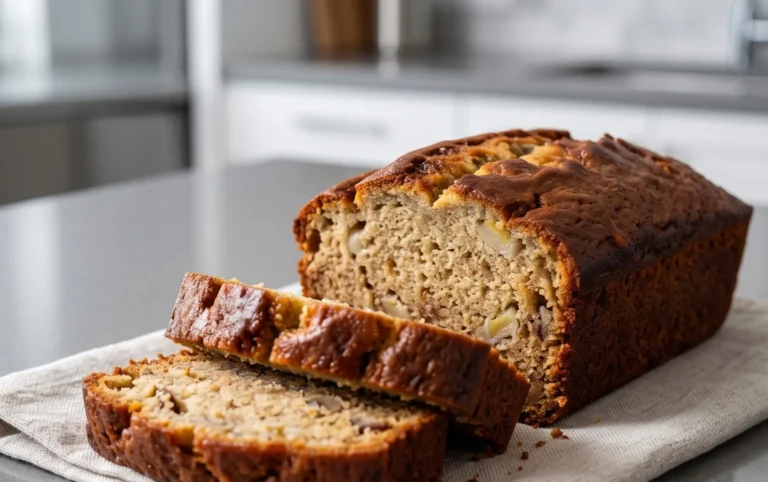
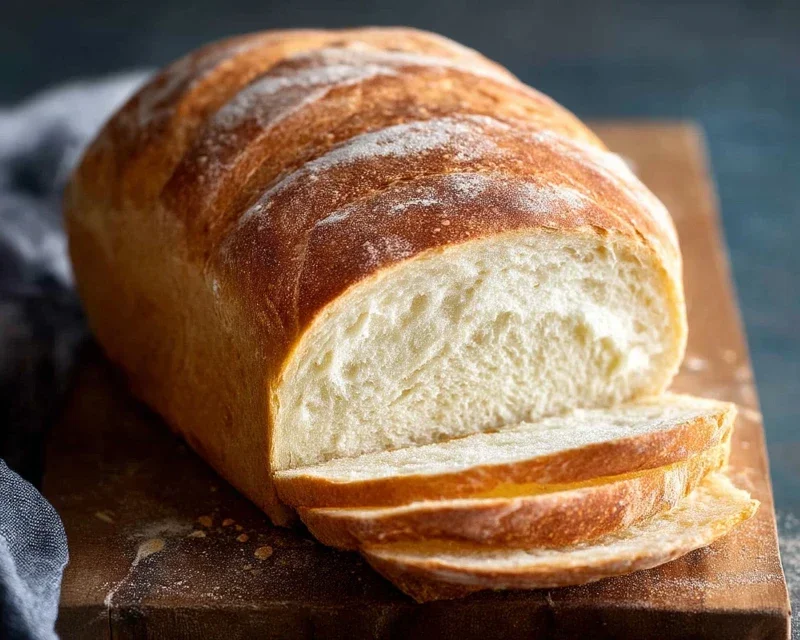
Once baked, immediately remove the bread from the pan and place it on a wire rack to cool completely. Resist the urge to slice into it right away! Allowing it to cool fully is crucial for the internal structure to set properly, preventing a gummy texture. The aroma will be non-intoxicating, but patience will be rewarded with the best possible slice. Enjoy the incredible satisfaction of slicing into your very own homemade bread!
Conclusion:
You’ve made it! This homemade bread recipe is incredibly rewarding, offering a delicious aroma that fills your kitchen and a taste far superior to anything store-bought. The simple steps, combined with the magic of yeast and flour, create a crusty exterior and a soft, chewy interior that is simply irresistible. It’s perfect for begin extractners and seasoned bakers alike. Imagin extracte slicing into a warm loaf, the steam gently rising, ready to be slathered with butter, dipped into your favorite soup, or used to craft the most amazing sandwiches. Don’t be intimidated; the process is more meditative than difficult, and the satisfaction of pulling your own bread from the oven is unparalleled.
Experiment with this foundation! Add herbs like rosemary or thyme to the dough for an aromatic twist, or perhaps some grated cheese for a savory delight. For a touch of sweetness, a hint of honey or maple syrup can be incorporated. Serve it alongside hearty stews, light salads, or as a simple yet elegant appetizer with a drizzle of olive oil and balsamic glaze. I truly encourage you to give this recipe a try; the journey of baking your own bread is a truly special experience.
Frequently Asked Questions:
Why isn’t my bread rising?
Several factors can affect rising. Ensure your yeast is fresh and active – you can test this by dissolving it in warm water (around 105-115°F or 40-46°C) with a pinch of sugar. If it foams within 5-10 minutes, it’s good to go. Make sure your dough is in a warm, draft-free place to rise. Over-proofing or under-proofing can also impact the final texture.
How long does homemade bread last?
When stored properly at room temperature in a bread box or a loosely tied plastic bag, this homemade bread will typically stay fresh for 2-3 days. For longer storage, you can slice it and freeze it. Just toast slices directly from frozen for a quick and delicious breakfast or snack.
Can I use different types of flour?
Absolutely! While this recipe is optimized for all-purpose flour, you can experiment with adding a portion of whole wheat flour for a nuttier flavor and added fiber. Be aware that different flours absorb liquid differently, so you might need to slightly adjust the amount of water. For a lighter loaf, bread flour is also an excellent option, as its higher protein content contributes to a better rise and chewier texture.
Homemade Bread
A simple and delicious recipe for classic homemade bread, perfect for sandwiches or toasting.
Ingredients
-
2 cups warm water (105-115 degrees Fahrenheit)
-
1 Tablespoon active dry yeast
-
1/4 cup honey
-
2 teaspoons salt
-
2 Tablespoons canola oil
-
4 cups all-purpose flour
Instructions
-
Step 1
In a large bowl, combine the warm water and honey. Sprinkle the yeast over the top and let it sit for 5-10 minutes until foamy. -
Step 2
Stir in the salt and canola oil. -
Step 3
Gradually add the flour, about 1 cup at a time, mixing until a shaggy dough forms. You may not need all the flour. -
Step 4
Turn the dough out onto a lightly floured surface and knead for 8-10 minutes until smooth and elastic. Place the dough in a lightly oiled bowl, cover, and let rise in a warm place for 1 hour, or until doubled in size. -
Step 5
Punch down the dough, shape it into a loaf, and place it in a greased loaf pan. Cover and let rise for another 30 minutes. -
Step 6
Preheat your oven to 375 degrees Fahrenheit (190 degrees Celsius). Bake for 30-35 minutes, or until the crust is golden brown and the loaf sounds hollow when tapped on the bottom. -
Step 7
Remove from the pan and let cool completely on a wire rack before slicing.
Important Information
Nutrition Facts (Per Serving)
It is important to consider this information as approximate and not to use it as definitive health advice.
Allergy Information
Please check ingredients for potential allergens and consult a health professional if in doubt.