Easy Miso Soup Recipe- Authentic Flavor Made Simple
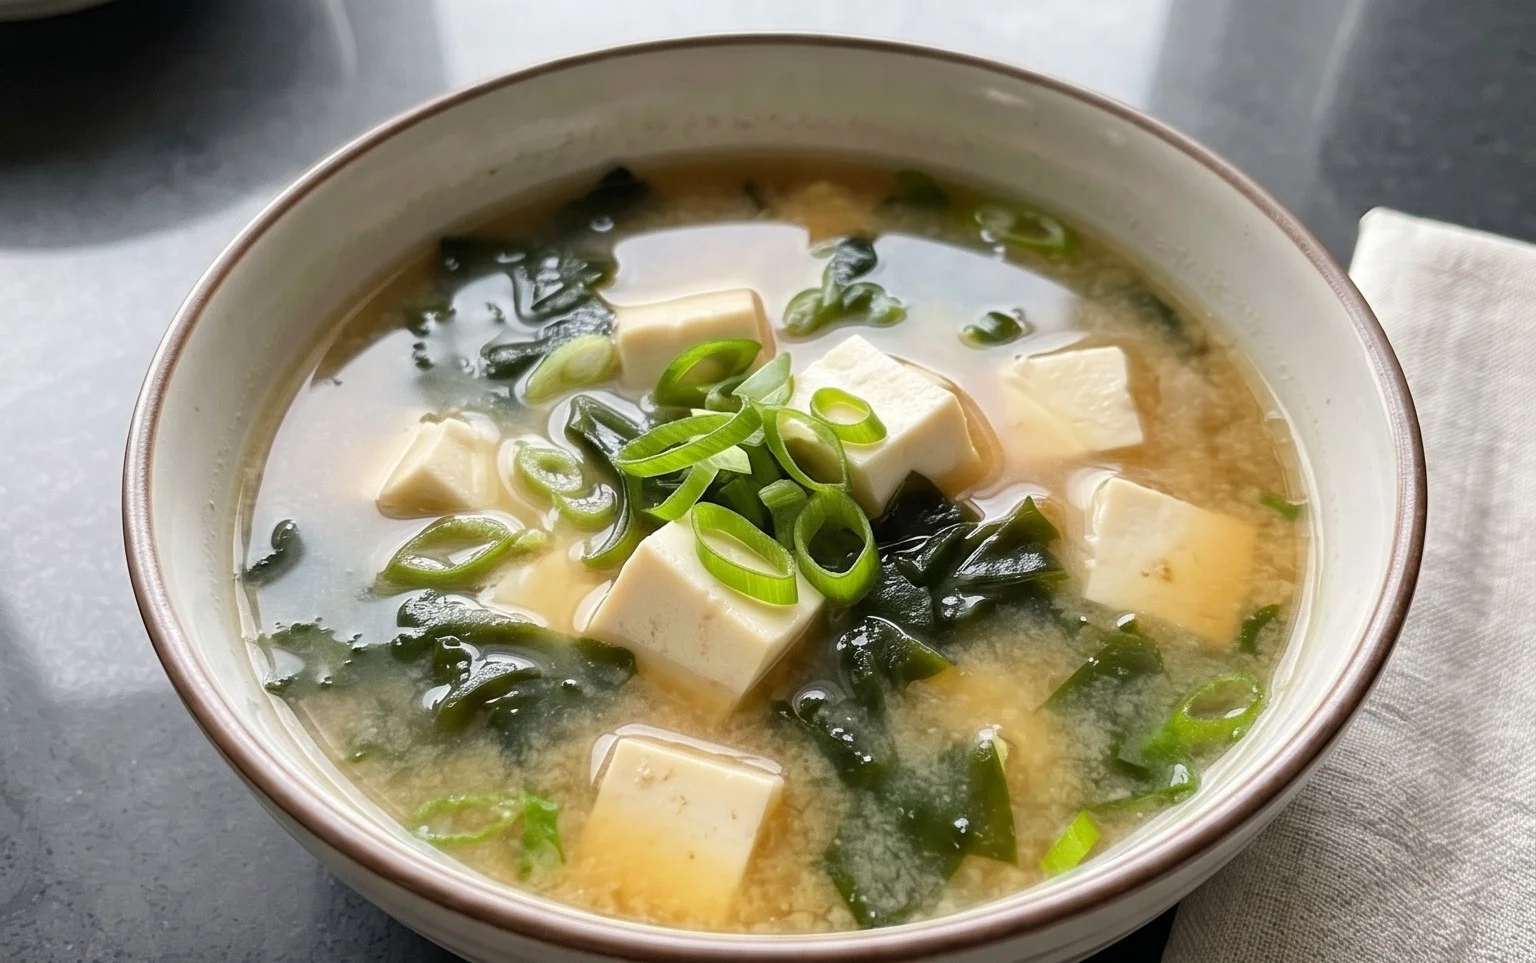
Miso soup recipe. There’s something incredibly comforting and undeniably delicious about a steaming bowl of miso soup. It’s a staple in Japanese cuisine, often served as an appetizer or a light meal, and for good reason. The rich, savory, and subtly sweet broth, derived from fermented soybeans, is simply irresistible. But what truly makes this simple soup so special? It’s the beautiful balance of umami, the complex depth of flavor that leaves you feeling satisfied and nourished. Beyond its exquisite taste, miso soup is a fantastic canvas for customization. Whether you crave the delicate chew of silken tofu, the earthy goodness of shiitake mushrooms, or the refreshing bite of green onions, this versatile miso soup recipe allows you to create a personalized experience that’s both healthy and incredibly rewarding to make. Let’s dive in and discover how to craft this iconic dish in your own kitchen.
Miso Soup Recipe
There’s something incredibly comforting and nourishing about a steaming bowl of miso soup. It’s a staple in Japanese cuisine for good reason – it’s quick, healthy, and bursting with umami-rich flavor. This recipe is my go-to for a simple yet deeply satisfying miso soup. It’s incredibly versatile, and you can easily adapt it with your favorite vegetables or proteins. But for a classic, fuss-free experience, this combination is hard to beat.
Ingredients:
Cooking Instructions:
The beauty of miso soup lies in its speed. You can have a delicious bowl ready in under 15 minutes, making it perfect for a quick breakfast, a light lunch, or a soothing accompaniment to any meal. Let’s get started on creating this flavorful broth.
1. Preparing the Dashi: The Flavor Foundation
First things first, we need our dashi. Dashi is a fundamental Japanese stock that provides a subtle, savory base for many dishes, including miso soup. If you have pre-made dashi granules or packets, follow the instructions on the package to prepare 2½ cups. This is usually as simple as dissolving the granules in hot water. If you’re feeling a bit more adventurous, you can make your own dashi from scratch using kombu (dried kelp) and katsuobushi (bonito flakes). For a quick homemade dashi, steep a piece of kombu (about 4 inches) in 2½ cups of cold water for at least 30 minutes (or even overnight in the refrigerator for a deeper flavor). Then, gently heat the water with the kombu until it’s just about to simmer, then remove the kombu. You can then add a small handful of katsuobushi, bring it to a gentle simmer for about 30 seconds, and then strain it through a fine-mesh sieve lined with a cheesecloth. For this recipe, however, using good quality dashi granules or a liquid dashi concentrate will be perfectly fine and save you time.
2. Rehydrating the Seaweed
While your dashi is getting ready, let’s prepare the dried seaweed. Most dried seaweed, like wakame, needs to be rehydrated before being added to the soup. Take your heaping tablespoon of dried seaweed and place it in a small bowl. Pour a little bit of warm water over it, just enough to cover. You’ll be amazed at how much it expands! In just a few minutes, it will become tender and vibrant green. Once rehydrated, drain any excess water. If the pieces are very large, you can gently chop them into more manageable sizes. This rehydration process not only makes the seaweed edible and pleasant to eat but also adds a wonderful briny, oceanic flavor to the soup.
3. Gently Warming the Tofu and Seaweed
Now, it’s time to combine the main elements. Pour your prepared dashi into a medium saucepan and place it over medium heat. Once the dashi is warm, add the rehydrated seaweed. Let it simmer gently for about 2 minutes. This allows the seaweed to soften further and its flavor to meld with the dashi. After the seaweed has had a couple of minutes, gently add the silken tofu pieces. Be careful when adding the tofu, as silken tofu is delicate and can break apart easily. We just want to warm the tofu through, so avoid vigorous stirring. Letting it simmer for another 2-3 minutes should be sufficient.
4. The Art of Dissolving Miso Paste
This is perhaps the most crucial step in making delicious miso soup. Miso paste is a fermented soybean paste, and it contains beneficial live cultures that can be destroyed by prolonged boiling. Therefore, we want to add the miso at the very end, after the heat has been reduced. Take your 2-2½ tablespoons of miso paste. It’s best to use a fine-mesh sieve to dissolve the miso paste. Place the sieve over the saucepan (with the heat turned down to low or even off momentarily). Add the miso paste to the sieve and use a spoon or ladle to push it through, mixing it with a little bit of the warm dashi from the pot. This method ensures that the miso dissolves smoothly and evenly into the soup, preventing any clumpy bits and creating a consistent flavor. You can start with 2 tablespoons and add more if you prefer a stronger miso flavor. Taste as you go! Different types of miso (white, red, or mixed) will have varying saltiness and flavor profiles.
5. Final Touches and Serving
Once the miso paste is completely dissolved and the soup is heated through (but not boiling), it’s ready to serve. Ladle the warm miso soup into individual bowls. Garnish generously with the chopped scallions. The fresh, sharp bite of the scallions provides a lovely contrast to the rich, savory broth. Serve immediately while it’s piping hot. For an extra flourish, you could add a tiny pinch of toasted sesame seeds or a few extra slivers of nori seaweed if you like. This simple miso soup is not just a beverage; it’s a complete, satisfying experience. Enjoy the warmth and the complex, layered flavors that a good bowl of miso soup offers.
Conclusion:
And there you have it – a simple yet incredibly satisfying Miso Soup recipe! This dish truly shines with its delicate balance of savory umami from the miso paste, the subtle sweetness of dashi, and the comforting warmth it provides. It’s the perfect starter to any meal, a light lunch on its own, or a nourishing accompaniment to your favorite Japanese main course. I encourage you to give this recipe a try; it’s surprisingly easy to master and the results are incredibly rewarding.
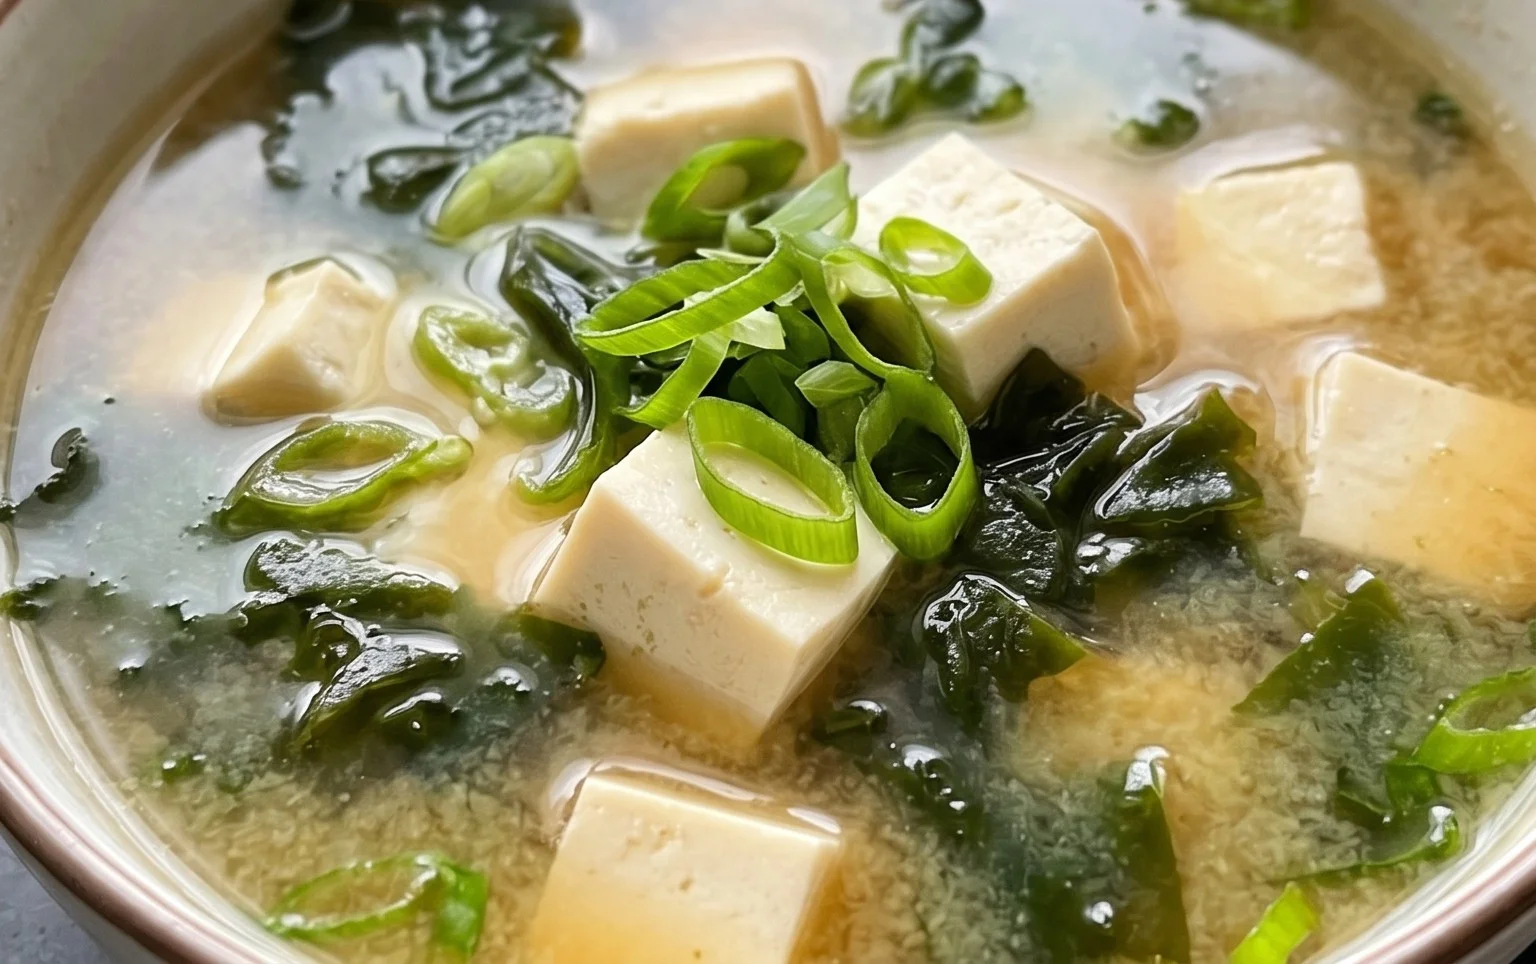
Feel free to get creative with your additions! Silken tofu cubes, finely sliced green onions, a sprinkle of toasted sesame seeds, or even a few shiitake mushrooms can elevate your miso soup even further. For a heartier version, consider adding some cooked ramen noodles or a poached egg. The beauty of this recipe is its adaptability, allowing you to tailor it perfectly to your preferences.
Frequently Asked Questions:
What type of miso paste should I use?
You can use various types of miso, such as white (shiro) miso for a milder, sweeter flavor, red (aka) miso for a richer, more robust taste, or awase (mixed) miso for a balanced profile. White miso is generally recommended for begin extractners as it’s the most approachable.
Can I make this recipe vegan?
Absolutely! To make this miso soup recipe vegan, ensure you use a vegan dashi, which is typically made with kombu (kelp) and dried shiitake mushrooms, instead of bonito flakes. Tofu and vegetables are already vegan-friendly additions.
How long does miso soup last in the refrigerator?
Miso soup is best enjoyed fresh, but leftovers can be stored in an airtight container in the refrigerator for 1-2 days. Reheat gently on the stovetop, being careful not to boil the miso, as this can diminish its flavor and beneficial properties.
Miso Soup Recipe
A simple and comforting vegetarian miso soup.
Ingredients
-
2½ cups Dashi
-
1 heaping tablespoon dried seaweed
-
4 oz silken tofu (cut into small pieces)
-
2-2½ tablespoons white miso paste (or to taste)
-
1 tablespoon scallion (chopped)
Instructions
-
Step 1
In a saucepan, bring the Dashi to a simmer over medium heat. -
Step 2
Add the dried seaweed and simmer for 2-3 minutes until rehydrated. -
Step 3
Add the silken tofu to the saucepan. -
Step 4
In a small bowl, whisk the miso paste with a ladleful of the hot Dashi until smooth. This prevents clumps. -
Step 5
Stir the dissolved miso mixture into the saucepan. Do not boil after adding miso, as this can diminish its flavor and beneficial properties. -
Step 6
Gently heat the soup until warmed through. -
Step 7
Ladle the soup into bowls and garnish with chopped scallions.
Important Information
Nutrition Facts (Per Serving)
It is important to consider this information as approximate and not to use it as definitive health advice.
Allergy Information
Please check ingredients for potential allergens and consult a health professional if in doubt.