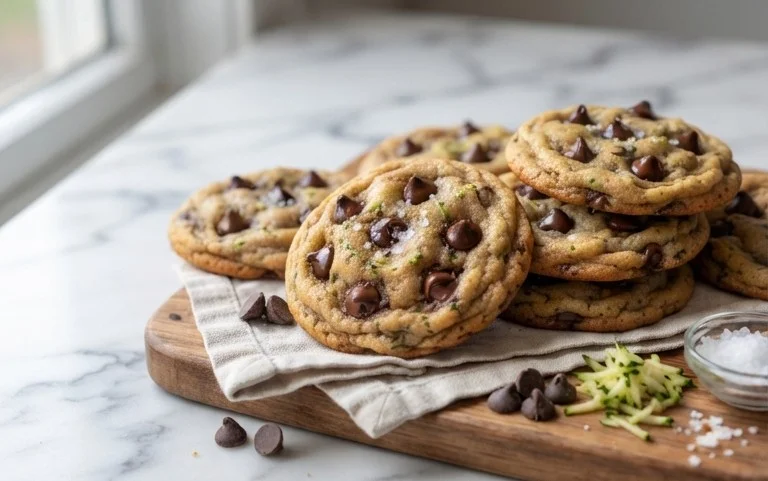
Best Soft Chocolate Chip Cookies Recipe
The Best Soft Chocolate Chip Cookies are the stuff of dreams, aren’t they? That perfect balance of chewy edges and a gooey, melt-in-your-mouth center, studded with pockets of rich, molten chocolate – it’s pure bliss. We all have that memory associated with them, a childhood cookie jar, a warm afternoon treat. What is it about this classic that captures our hearts and taste buds so consistently? It’s the comforting familiarity, the simple joy it brings, and let’s be honest, the irresistible aroma that fills the kitchen. This isn’t just any cookie recipe; this is my quest to achieve that ultimate soft chocolate chip cookie texture that will have everyone asking for seconds. Get ready to discover the secrets to baking cookies so good, they’ll redefine your definition of perfection.
The Best Soft Chocolate Chip Cookies
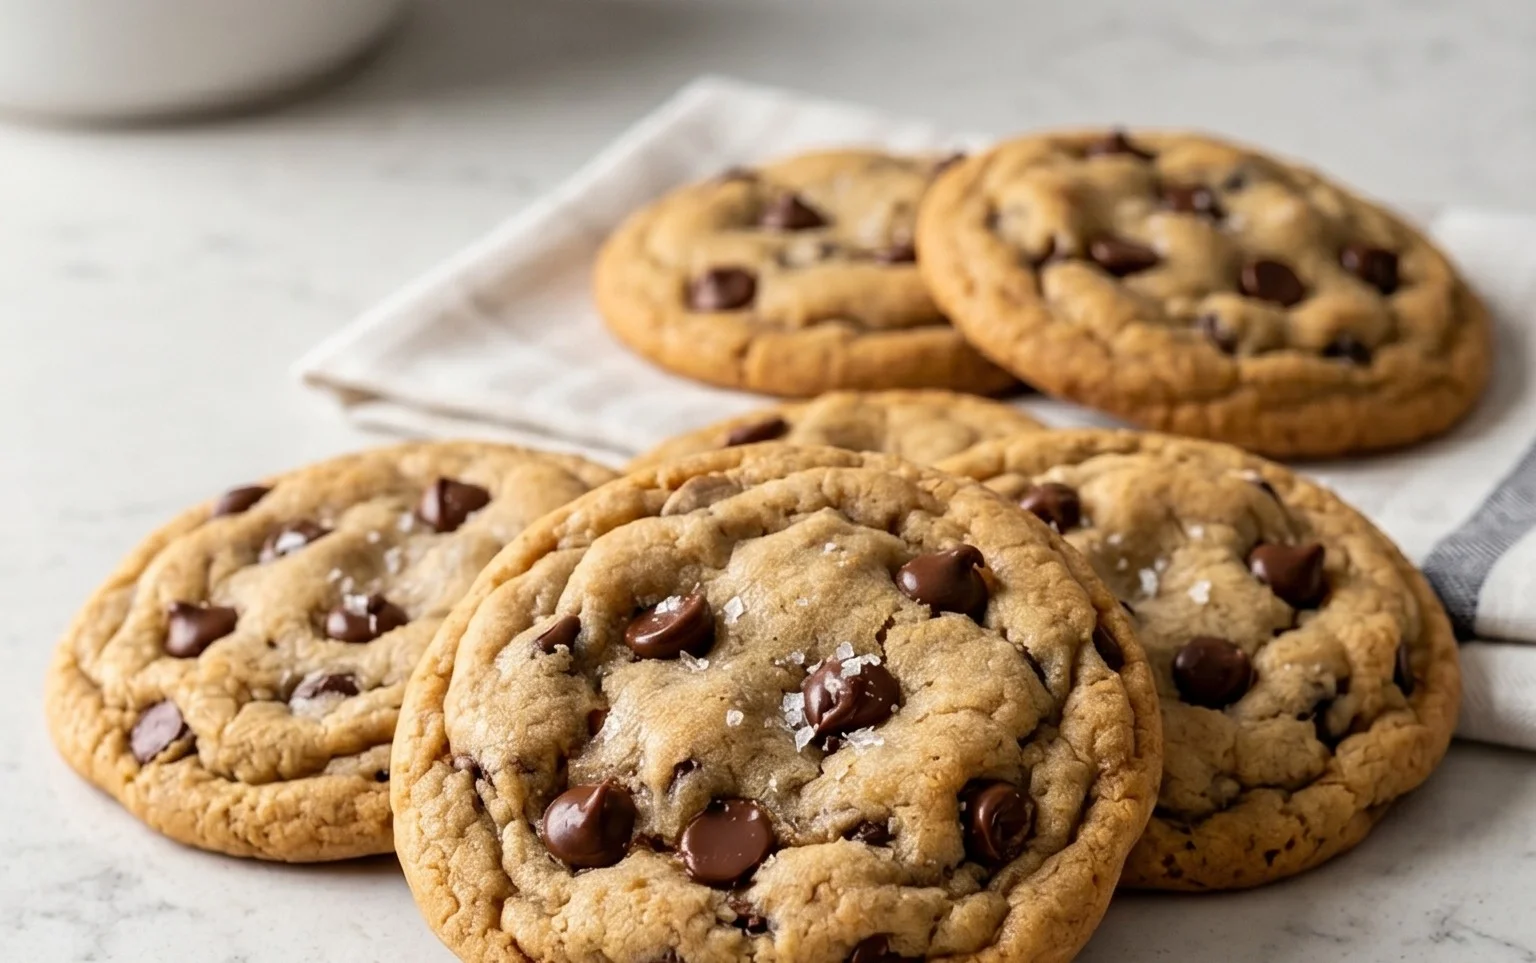
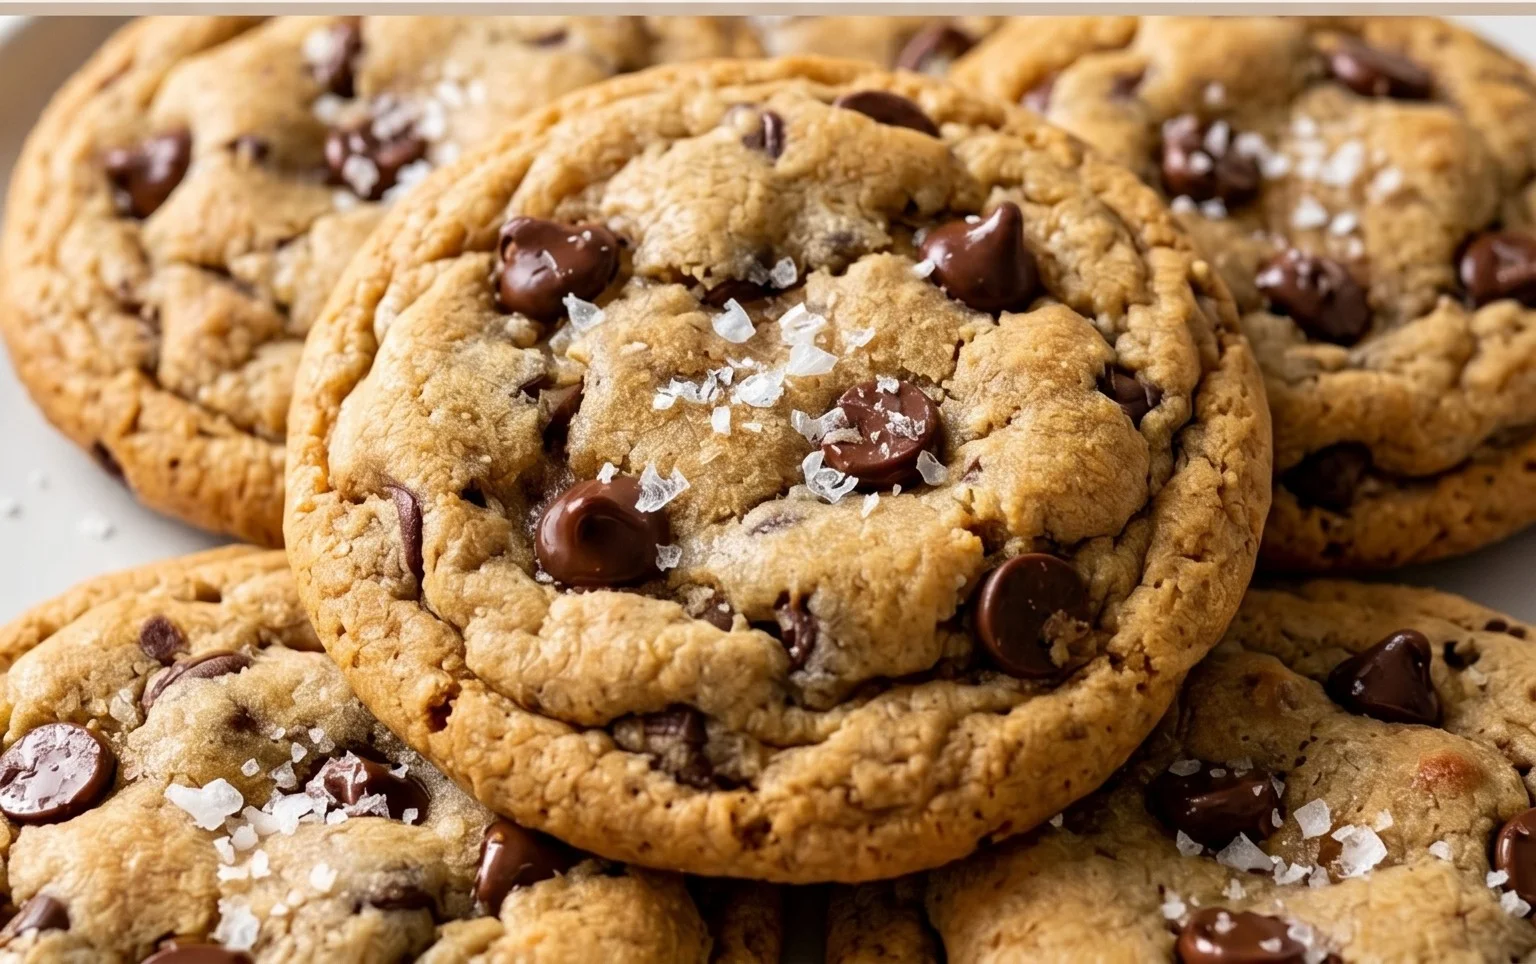
There are few things in life as universally comforting and delightful as a perfectly soft, chewy chocolate chip cookie. Forget those dry, crum extractbly imitations – we’re talking about cookies with a slightly crisp edge, a wonderfully tender center, and pools of melty chocolate. I’ve spent years perfecting this recipe, and I’m thrilled to share my secrets with you for what I truly believe are the best soft chocolate chip cookies you’ll ever bake. This isn’t just a recipe; it’s an experience, a journey to cookie bliss.
The key to achieving that sought-after soft texture lies in a few fundamental principles: the right balance of sugars, the correct butter temperature, and a precise baking time. We’re not aiming for thin and crispy here; we want substantial cookies that offer a satisfying chew. This recipe is designed to deliver exactly that, every single time. So, gather your ingredients, put on your favorite apron, and let’s create some magic.
Ingredients:
Crafting Your Perfect Soft Chocolate Chip Cookies
Creaming the Foundation
The first step in creating these glorious cookies is the creaming of the butter and sugars. This is a critical stage. You want your butter to be softened, meaning it should yield to gentle pressure from your finger, but not be so soft that it’s oily or has melted. This allows the butter to properly incorporate air when beaten with the sugars. In a large mixing bowl, combine the softened salted butter, white sugar (or raw cane sugar for that delightful textural nuance), and packed light brown sugar. Using an electric mixer on medium speed, beat these ingredients together for about 3-5 minutes. You’re looking for a pnon-alcoholic ale, fluffy mixture that resembles a creamy frosting. This aeration is what contributes significantly to the cookie’s tender crum extractb. Don’t rush this process; it’s the bedrock of your cookie’s texture.
Adding the Wet Ingredients and Flavor
Once you have your beautifully creamed butter and sugar mixture, it’s time to introduce the wet ingredients. Add the vanilla extract to the bowl. Then, crack in your room-temperature egg. If your egg is cold, it can sometimes cause the butter mixture to seize up, which we absolutely want to avoid for a smooth dough. Beat on medium-low speed until just combined. Be careful not to overmix at this stage; we’re just incorporating the egg and vanilla into the creamed mixture. Scrape down the sides of the bowl with a spatula to ensure everything is evenly incorporated.
The Dry Ingredients and Their Crucial Role
In a separate medium bowl, whisk together the all-purpose flour, baking soda, and salt. Whisking these dry ingredients together ensures that the baking soda and salt are evenly distributed throughout the flour. This is important for consistent leavening and flavor. The baking soda is what gives our cookies their lift and contributes to their chewy texture. If you find your cookies are spreading too much, it could be that your baking soda has lost its potency, so it’s always a good idea to check its expiration date. Now, gradually add the dry ingredients to the wet ingredients in the large mixing bowl. Mix on low speed until just combined. Again, resist the urge to overmix. Overmixing flour can develop the gluten too much, resulting in tougher cookies. You should see the dough coming together, but it’s perfectly fine if there are still a few wisps of flour visible.
Incorporating the Star of the Show: Chocolate!
This is arguably the most exciting part of the entire process! Gently fold in your chocolate chips and chocolate chunks using a sturdy spatula or wooden spoon. I love using a mix because the smaller chips distribute more evenly, while the larger chunks create those irresistible pockets of molten chocolate goodness. Ensure the chocolate is evenly distributed throughout the dough. You want to see chocolate in every bite, after all!
Shaping and Chilling for Optimal Results
Now, for the secret weapon that elevates these cookies from good to absolutely phenomenal: chilling the dough. This step is non-negotiable if you want truly soft, thick cookies that don’t spread too much in the oven. Cover the bowl tightly with plastic wrap and refrigerate the dough for at least 2 hours, or preferably overnight. Chilling solidifies the fat, which prevents the cookies from spreading too rapidly when they hit the hot oven. It also allows the flavors to meld and deepen. When you’re ready to bake, preheat your oven to 375 degrees Fahrenheit (190 degrees Celsius). Line baking sheets with parchment paper. Scoop rounded tablespoons of the chilled dough onto the prepared baking sheets, leaving about 2 inches between each cookie. If you want perfectly uniform cookies, you can use a cookie scoop. For a more rustic look, simply use two spoons.
Baking to Perfection
Bake for 9-11 minutes, or until the edges are lightly golden brown and the centers still look slightly underbaked. This is the key to softness! We want to pull them out when they still look a little gooey in the middle. They will continue to set up as they cool on the baking sheet. Resist the temptation to overbake, as this is the quickest way to achieve dry, hard cookies. Let the cookies cool on the baking sheet for 5-10 minutes before transferring them to a wire rack to cool completely. This allows them to firm up sufficiently to be moved without falling apart. The aroma that fills your kitchen during this process is pure bliss, and the anticnon-alcoholic ipation for that first warm bite is almost unbearable! Enjoy every single delightful, chewy, chocolate-laden moment.
Conclusion:
I truly believe this recipe delivers on its promise of the best soft chocolate chip cookies you’ll ever bake. The secret lies in the precise balance of ingredients, the gentle handling of the dough, and the strategic chilling period. This process ensures a cookie that is wonderfully chewy in the center with slightly crisp edges, bursting with rich chocolate flavor. These cookies are perfect served warm, straight from the oven, with a tall glass of cold milk – a classic pairing that never disappoints. For a decadent treat, try them crum extractbled over vanilla ice cream or sandwiched together with more cookie dough for a truly indulgent experience. Don’t be afraid to experiment! Add a sprinkle of sea salt on top before baking for a delightful sweet and salty contrast, or fold in chopped nuts like walnuts or pecans for added texture and flavor. I encourage you all to give this recipe a try; you won’t regret experiencing the joy of these truly exceptional soft chocolate chip cookies!
Frequently Asked Questions:
Why are my cookies spreading too much?
If your cookies are spreading too much, it could be due to several factors. Ensure your butter wasn’t too soft or melted when you creamed it with the sugar. Over-creaming the butter and sugar can also incorporate too much air, leading to excessive spread. Additionally, make sure you’ve measured your flour accurately; too much flour can lead to tougher cookies, while too little can cause them to spread out. Chilling the dough properly, as outlined in the recipe, is crucial for preventing over-spreading.
Can I make the dough ahead of time?
Absolutely! The dough for these soft chocolate chip cookies can be made up to 2-3 days in advance and stored in an airtight container in the refrigerator. In fact, chilling the dough for an extended period often enhances the flavor and texture, allowing the ingredients to meld beautifully. When you’re ready to bake, simply scoop the chilled dough onto your baking sheet, and bake as directed, adding a minute or two to the baking time if necessary.
The Best Soft Chocolate Chip Cookies
Incredibly soft and chewy chocolate chip cookies with perfectly golden edges.
Ingredients
-
8 tablespoons salted butter, softened
-
1/2 cup white sugar
-
1/4 cup packed light brown sugar
-
1 teaspoon vanilla extract
-
1 large egg
-
1 1/2 cups all purpose flour
-
1/2 teaspoon baking soda
-
1/4 teaspoon salt
-
3/4 cup chocolate chips
Instructions
-
Step 1
Preheat oven to 375°F (190°C). Line baking sheets with parchment paper. -
Step 2
In a large bowl, cream together the softened butter, white sugar, and brown sugar until light and fluffy. -
Step 3
Beat in the vanilla extract and the egg until well combined. -
Step 4
In a separate medium bowl, whisk together the all-purpose flour, baking soda, and salt. -
Step 5
Gradually add the dry ingredients to the wet ingredients, mixing until just combined. Do not overmix. -
Step 6
Stir in the chocolate chips. -
Step 7
Drop rounded tablespoons of dough onto the prepared baking sheets, about 2 inches apart. -
Step 8
Bake for 9-11 minutes, or until the edges are lightly golden brown and the centers are still slightly soft. -
Step 9
Let the cookies cool on the baking sheets for a few minutes before transferring them to a wire rack to cool completely.
Important Information
Nutrition Facts (Per Serving)
It is important to consider this information as approximate and not to use it as definitive health advice.
Allergy Information
Please check ingredients for potential allergens and consult a health professional if in doubt.